
Wig Making Process
I have made hundreds of wigs from very short to very long. I've used human, synthetic, and yak hair. From very straight to hair with the curl already in it, I've made wigs for small houses, to wigs for ampitheatres and opera houses. Taking color, texture, length, actor, house size, time and budget into account, start with the wig foundation.
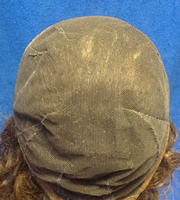
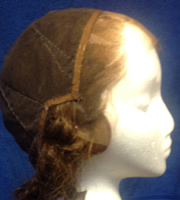
Net Foundations
Most of my foundations are made with a combination of vegetable net and cawl net. This is good for stock wigs, because the cawl net is stretchy and has some give over pin curls. The vegetable net provides a more stable structure from the nape, around the ears and then generally ear to ear across the top. If you have to replace fronts every season, this is a good pattern because the lace detaches at the vegetable net and you don't have to compromise the structure by cutting into it.
Premade Foundation
Sometimes there isn't time to make a custom wig, and you need to purchase a pre-made wig foundation. My personal favorite retailer is Helena in New York City.
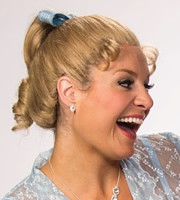
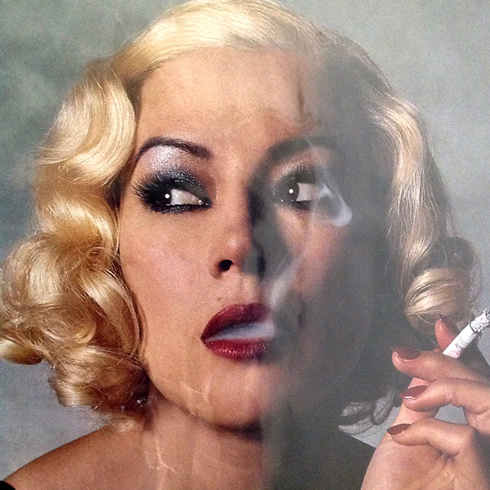
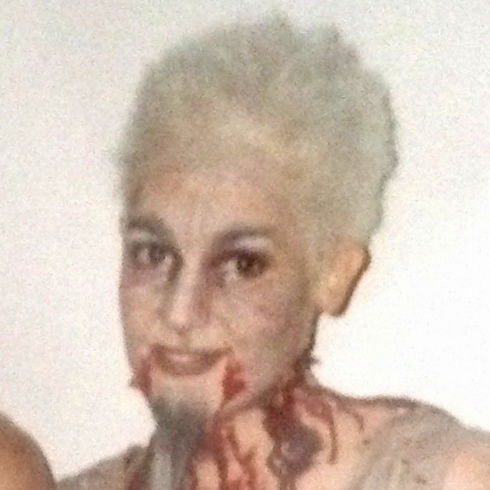
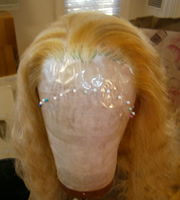
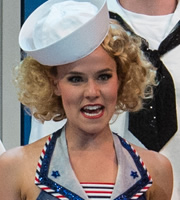
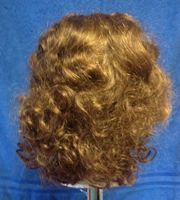
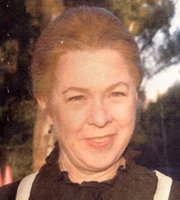
The wig I made for Jennifer Tilly was on a pre-made foundation to cover her black hair, I needed A LOT of blond. The lighter the hair color, the more it tends to break. So be prepared to continue adding hair to the wig if you're doing a long show run.
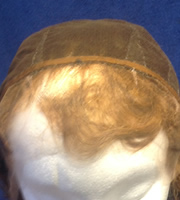
Silk Foundation
I use silk as a foundation or partial foundation for characters with thinning hair or a monk's tonsure. Unlike a bald pate (which is glued around the entire head), silk is pinned on and a lace front added. Silk "blenders" are also used under fronts if the actor's own hairline is showing through. Silk is laid under the lace and trimmed using pinking shears to reduce fraying.
Silk comes in stark white, and must be dyed to match the actor's skin tone. RIT dye is recommended. You don't need much, but always patch test and let it dry before you throw in all your silk
Lace Foundation
This you WOULD use over a bald pate or a bald person. It is the most delicate of foundation types and so cleaning it takes some extra time. I made a lace foundation and ventilated it with yak hair for one of the witches in Mac Beth. The actor had a lot of long, dark hair, but because she didn't require a costume change, I could put a bald pate on her and then place the lace wig over the top.
Tools
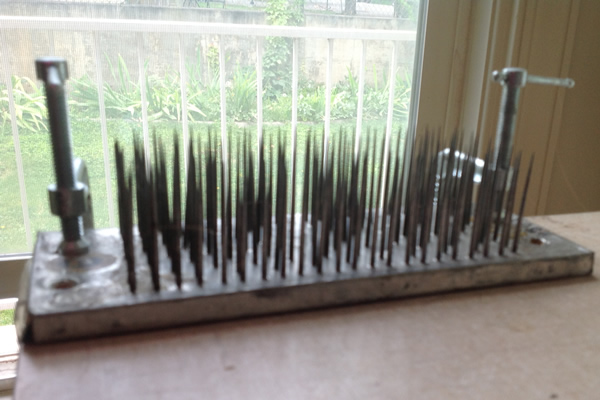
The Hackle, which looks like some kind of torture device. This is actually quite useful when mixing different colors of hair. If your hair gets tangled, run it through the hackle a few times and it will be nice and smooth again.
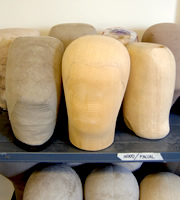
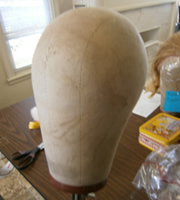
Canvas or Wooden blocks: Canvas blocks are less expensive and easier to build on, but I like the fit of the wig better when it's built on a wooden block. It is harder to pad, and you have to use headless nails (also called pins) and small hammer to hold your materials down instead of just regular sewing pins. After you hammer your little headless pin halfway in, it needs to be bent with needle-nosed plier, and hammered the rest of the way in to hold your materials securely in place. Definitely more time consuming, but also worth it if you want highier quality.
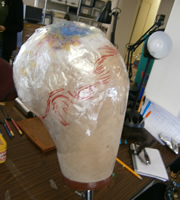
Head Tracing
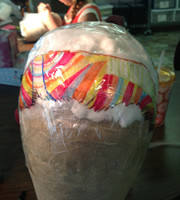
For head tracing, the actor's hair has to be put in pin curls or wrapped as close to the head as possible. A wig cap is put on, but pulled behind the hairline so you can clearly see the natural hair. Wrap the head with Saran Wrap, often using two pieces, and tape the entire head with cellophane tape. Trace the hairline, around the ears and nape with a Sharpie, and very carefully remove the tracing. If have the wig, place it on the head and mark where the wig will end and the front begins. This step is not necessary, but very helpful. The head block may need to be padded when you place your tracing. I use cotton, Easter grass, or plastic bags to pad my blocks.
Fronts
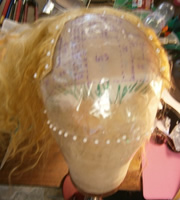
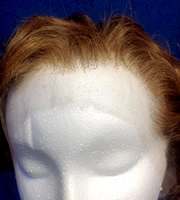
"Fronting" is the term used when adding a natural looking hairline to a commercial wig. Fronts can save time and money, which makes them a popular in theatre.
This wig was supposed to look the same for four people, so a template was created and all the fronts were made using the same hair combinations in the same place, only using one hair at a time, and ventilating right next to each other. This is called Single Hair/Single Space.
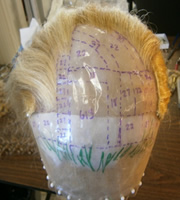
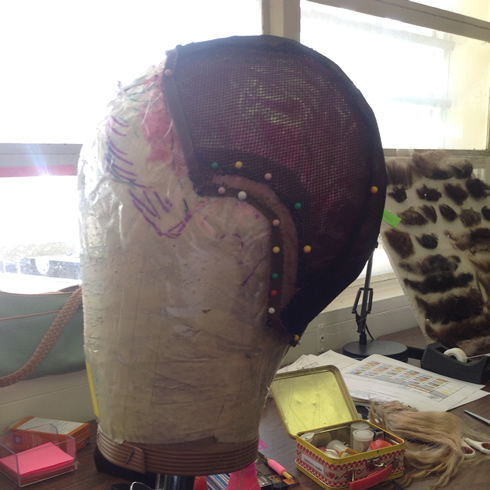
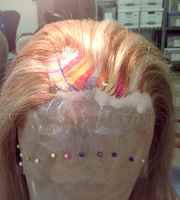
Color Coded Front
The colors on the tracing represented the different colors of hair to use. Obviously, I was not going to use blue or orange hair, but those colors were assigned a number that corresponded to the correct hair color. I had to ventilate a side part in it, so the inch where the part was to be was all single hair, single space ventilated, and also directionally ventilated. The tracing looked a little psychedelic, but the finished front was very cool.

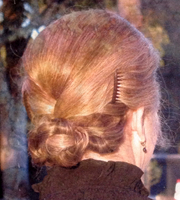
Fully Hand-Tied Human Hair
Human hair made on a vegetable/cawl net foundation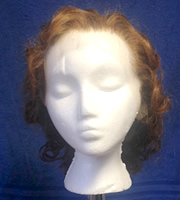
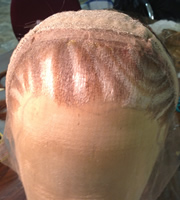
This foundation is made from one piece of vegetable net. This is the technique primarily used by Wig Designers Tom Watson and Charles LaPointe. It will save for materials cost, and also takes less construction time. You can use this technique with net lace, superlace, or any semi-rigid lace.
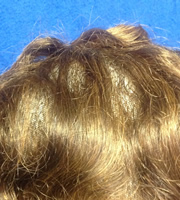
You can see there is spacing between the knots, yet it looks natural when you take a step back. Less hair gives it the natural, not wiggy, look. The spacing between the knots is what allows the wig to breathe. I guess that's how they came up with the term "ventilating".
The edge is reinforced with galloon for structural integrity. If your are using superlace for a small house or film, you would use invisible galloon or just sew the turnover down.
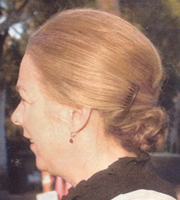
¾ wig or Fall
A ¾ wig, also known as a fall, is attached like a wig but it begins behind the hairline with the actor's own hair pulled over the seam. This helps to create length and save the actor's hair from the damage of styling it for 8-10 shows a week.
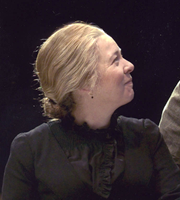
Restoration on a Budget
The theatre wanted to use a blonde wig, but it was really thin and we needed to add more hair to the back, as well as an entire front. Money gets tight in summer stock theatre, so we rummaged all the blondes we could to get a good match.